Hey there, fellow garden enthusiasts! I’ve been getting tons of questions about handling sloped gardens, and today I’m gonna share my experience on creating an absolutely gorgeous stone flower bed that’ll work perfectly on your tricky terrain. Trust me, it’s a game-changer!
What You’ll Need
Tools:
- Circular saw with diamond blade
- Level (trust me, you’ll use this A LOT)
- Spade and trowel
- Rubber mallet
- Cold chisel
- Wheelbarrow
- Safety glasses (don’t skip this!)
- Bucket
- Utility knife
Materials:
- Natural stone (about 3 tons for a 4×16 ft bed)
- Pea gravel (1 yard)
- Landscape fabric
- Mortar
- 2×4 lumber
- Topsoil (3 yards)
Step-by-Step Guide
1. Planning and Preparation
Before ya grab those stones let’s get the basics right
- Mark your bed outline using rope or garden hose
- Call 811 for utility marking (seriously, do this first!)
- Consider max height (stick to 3 ft or less for stability)
- Calculate materials needed (add 10% extra stone for options)
2. Dealing with the Slope
Here’s where it gets interesting! For sloped areas
- Create “steps” in your trench
- Make each step match your stone thickness
- Keep the bottom of each step level
- Ensure proper drainage throughout
3. Building the Foundation
This is super important for stability:
- Dig an 8-inch deep, 10-inch wide trench
- Fill with 4 inches of pea gravel
- Level the gravel base carefully
- Lay landscape fabric over gravel
4. Stone Placement Tips
I learned these tricks the hard way
- Sort stones by thickness before starting
- Start with larger stones at the bottom
- Stagger joints between courses
- Backset each row about 1/2 inch
- Keep outside edges tight together
5. Working Up the Slope
Pro Tip: When building up the slope:- Create level sections that "step up"- Use thicker stones for transition points- Ensure each section is completely level- Backfill as you go up6. Adding Drainage
Don’t forget about water management:
- Add gravel behind walls
- Include drainage holes every 4 feet
- Slope soil away from house
- Consider adding drain pipe at base
7. Finishing Touches
The final steps that make it look pro:
- Install capstones with 2-inch overhang
- Mortar the capstones in place
- Fill joints with mortar
- Clean any mortar splashes
- Add your favorite plants!
Maintenance Tips
To keep your sloped flower bed looking awesome:
- Check for loose stones annually
- Clean drainage holes in spring
- Replace mortar as needed
- Monitor for soil erosion
- Add mulch to prevent washout
Common Mistakes to Avoid
Learn from my oopsies:
- Skipping the proper foundation
- Forgetting about drainage
- Not accounting for soil pressure
- Making walls too tall
- Rushing the leveling process
Plant Selection for Sloped Beds
Some plants that work great:
- Creeping phlox
- Sedum
- Ornamental grasses
- Small shrubs
- Ground covers
Time and Cost Breakdown
Just keeping it real here:
- Time: 2-3 weekends for a 4×16 ft bed
- Cost: $501-1000 for materials
- Skill Level: Beginner-friendly
- Physical Effort: High (lots of heavy lifting!)
Final Thoughts
Putting together a stone flower bed on a slope isn’t easy, but it can be done! I’ve done a few of these now, and each one looks better than the last. Only spend enough time on the base and leveling; that’s the important part.
Remember, your first row of stones is gonna make or break the whole project, so don’t rush it. And hey, if you’re feeling overwhelmed, break it into smaller sections and tackle it one weekend at a time.
Now get out there and transform that sloped yard into something amazing! And if you’ve got questions, drop ’em in the comments – I’m always happy to help fellow gardeners out!
P. S. Don’t forget to show off your finished project! There’s nothing better than having people ask who did your landscaping!
Step 4: Build the Wall

A good concrete retaining wall is typically 24 to 28 inches thick to ensure it can handle the weight of the hillside behind it. These walls are usually constructed with two layers: one that leans inward toward the slope and a secondary outer wall that forms the visible front surface. Between the inner wall and the hillside, you’ll need to add gravel to allow excess water to drain and help stabilize the soil.
Wooden retaining walls are often much thinner but usually include a moisture barrier directly against the soil, followed by a heavily reinforced fence panel. These panels often have runners extending into the upper slope to keep the fence stationary. Adding rebar or heavy lumber posts provides additional stability.
Take the time to plan your retaining wall carefully and leave plenty of room between it and your future gardening space. Building a retaining wall can open up quite a lot of room for your future garden!.

You can make a terraced garden with or without raised beds, but adding them often makes the garden look better and work better.
These multi-level plots are technically a type of raised garden because the ground is leveled and stair-stepped to make the most usable space. This approach is especially effective and often essential for heavily sloped surfaces.
With a terraced garden, sturdy retaining walls are crucial to prevent erosion. Weak walls may allow soil to spill out around the edges, gradually reducing the quality and quantity of soil in the upper levels while overwhelming the lower ones. Starting with strong, well-built walls will save you trouble down the line.
Incorporating individual raised beds to contain the majority of your soil can effectively mitigate erosion in terraced gardens. You can even combine raised beds with terracing for a sleek and functional garden design.
Step 1: Create Space

You’ll need to carve into the side of the hill to create a level, stepped area for your raised beds. Be sure to leave enough space for the raised bed, your reinforcement wall, and additional room if you plan to access the side of the bed closest to the reinforcement. Expect to remove a significant amount of soil to achieve a level surface.
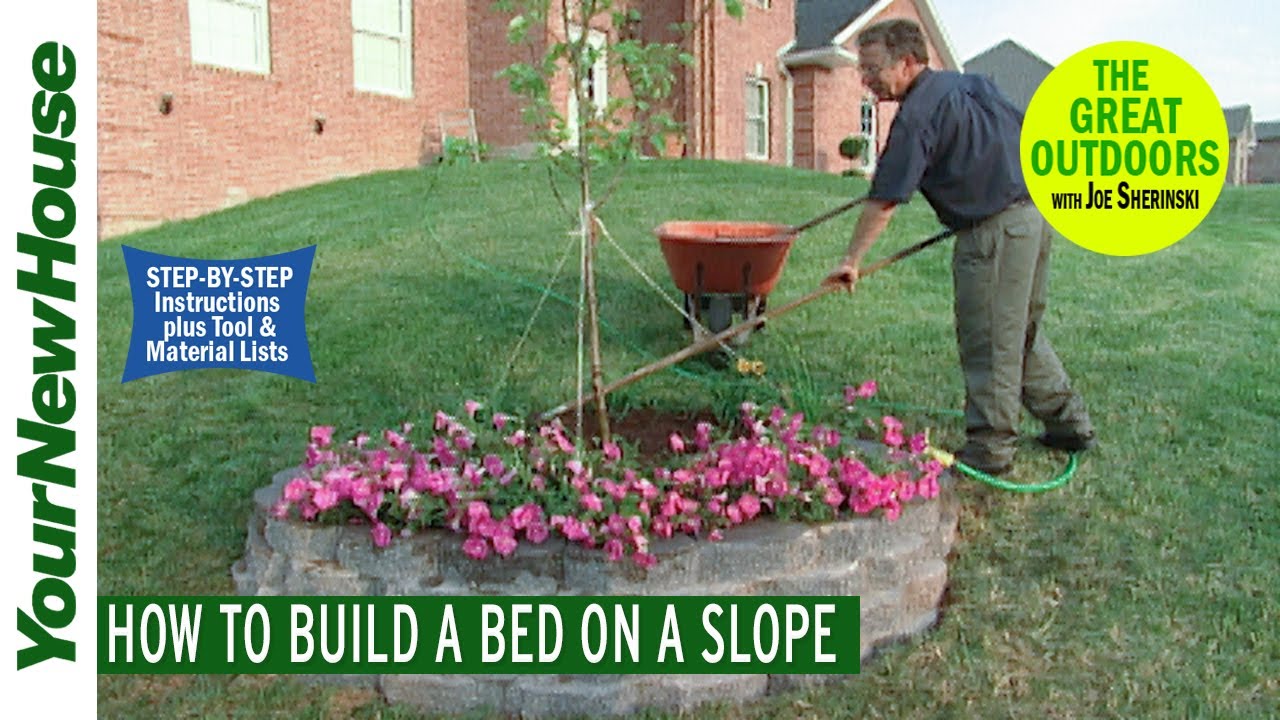
Creating a Hillside Bed – The Great Outdoors
0