Planting bulbs in containers is a fun and easy way to add a pop of color to your patio, deck, or entryway come spring. With the right preparation and care, you can have a gorgeous display of blooms even through the cold winter months. In this complete guide, I’ll explain everything you need to know about successfully overwintering bulbs in pots.
Choosing the Best Bulbs for Containers
When choosing bulbs to plant in pots, choose types that do well in pots and produce flowers that stand out. Some top options include .
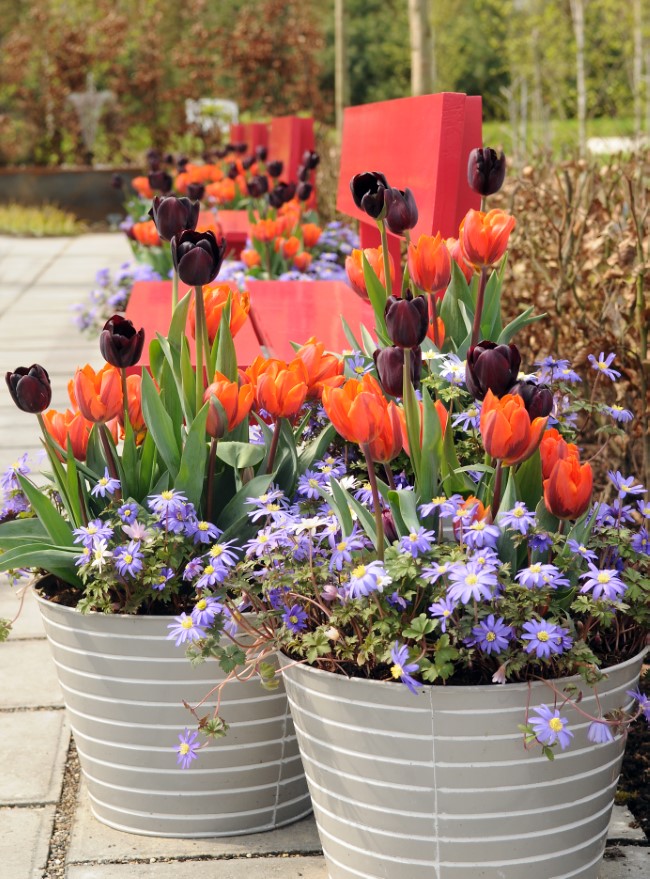
- Tulips – Large, showy blooms in vivid colors like red, pink, orange, yellow, or white flowers on tall stems.
- Daffodils – Cheery yellow or white blooms. Plant in groups for a bold statement.
- Alliums – Purple globe-shaped flower heads atop sturdy 2-3 foot stems.
- Crocus – Delicate, cup-shaped flowers in purple, yellow, or white. Grow in clusters.
- Grape Hyacinths – Petite flowers in blue, white, or pink that grow in small clumps.
- Snowdrops – Charming nodding white blooms that flower early.
For best results, choose large, firm bulbs free of blemishes. Larger bulbs produce more impressive blooms. Check for mold, damage, or excessive dryness.
Select the Right Container
Pick a container with drainage holes to prevent soggy soil. Plastic, ceramic, or wooden pots all work well. Make sure it’s big enough to hold the bulb roots but not oversized.
For most bulbs, choose a container 8-10 inches wide and at least 6 inches deep. Shallow pots dry out too quickly.
If a pot doesn’t have drainage holes, line it with gravel or put broken pottery over the holes to keep the soil from washing away.
Use a Well-Draining Potting Mix
Create a potting mix for bulbs that drains well to avoid rotting Combine equal parts potting soil, perlite, and vermiculite or sand. You can also purchase premixed bulb planting soil
Some gardeners use coco coir or compost to keep a little water in the soil. But drainage is still key, so don’t overdo it.
Moisten the soil before planting bulbs. It should be damp but not soggy.
Layer Bulbs Attractively
Place potting mix in the container. Arrange bulbs pointy side up, evenly spaced. Put the bigger bulbs, like tulips and daffodils, in the middle and at the bottom.
Surround them with smaller bulbs like grape hyacinths, crocus, or miniature irises higher up. Cover bulbs with soil to the proper planting depth.
Bigger bulbs need more space underground. Plant tulips 6-8 inches deep and small bulbs 3-4 inches deep.
Follow Proper Planting Times
For most flower bulbs, the ideal planting time is in fall before the ground freezes, usually 4-6 weeks before your first frost date. This gives bulbs time to establish roots.
Some minor bulbs like crocus and snowdrops can be planted later into early winter if needed. But earlier is better to ensure ample growth.
After planting bulbs, water the containers thoroughly. Let soil dry slightly between waterings while roots develop over the next few weeks.
Protect Bulbs From Freezing
Potted bulbs need protection when temperatures drop below freezing. Place containers together and cover with mulch, leaves, or burlap.
Move pots to a sheltered space like an unheated garage or under an overhang. You can also bury pots in the ground and mulch well.
If you keep pots outdoors, expect some loss. For best results, store bulbs in a cool dark place (about 45°F) and water very sparingly during winter months.
Provide Water During Winter Dormancy
Check soil moisture monthly and water sparingly during winter. About 1-2 times per month is often sufficient if rainfall is low. The goal is moist but not wet soil.
If bulbs start to shrivel, increase water slightly. Stop watering completely once spring growth appears.
Enjoy Beautiful Blooms in Spring!
With proper selection, planting, and winter care your potted bulbs will thrive and delight you with gorgeous flowers once spring arrives. As blooms fade, you can remove spent plants and replace with summer annuals.
Here are some additional tips for success with planting bulbs in containers over winter:
- Choose pots with drainage holes or add gravel for drainage.
- Discard any bulbs that are moldy or damaged before planting.
- Add winter insulation like burlap or bubble wrap when heavy freezes occur.
- Water sparingly when planted bulbs begin sprouting in spring.
- Fertilize with dilute bloom fertilizer once leaves emerge.
With this complete guide, you can have potted bulb flowers blooming everywhere from your patio to front porch next spring!
The Best Containers for Growing Bulbs in Pots
For practicality, choose containers that will overwinter in your area. Glazed ceramic, resin, or plastic pots have good longevity and protect plants in the winter. Unglazed terracotta will absorb moisture, freeze, and crack, so it is best to store those for mild weather use only.
There are also great all-weather containers, like the ones shown here. They have two walls that keep the soil warm, and the warranty lasts for 10 years. These are certain to make it through many winters.
Choose large pots to hold the soil needed to chill the bulbs without damaging them. The larger the pot also means adding a lot more bulbs, giving an impressive spring display. Half wine or whiskey barrels also make wonderful bulb planters.
Layer Spring-Flowering Bulbs in Pots
When planting bulbs, you can get quite creative in planning how they will bloom throughout the spring. Think about incorporating colour patterns with two or three complementary hues. Or staggering flowering times with early, mid, and late-season bloomers.
Playing with different heights adds more interest. Here is how to layer bulbs in your container garden.
Thank you to flowerbulbs.com for sharing these s with me!
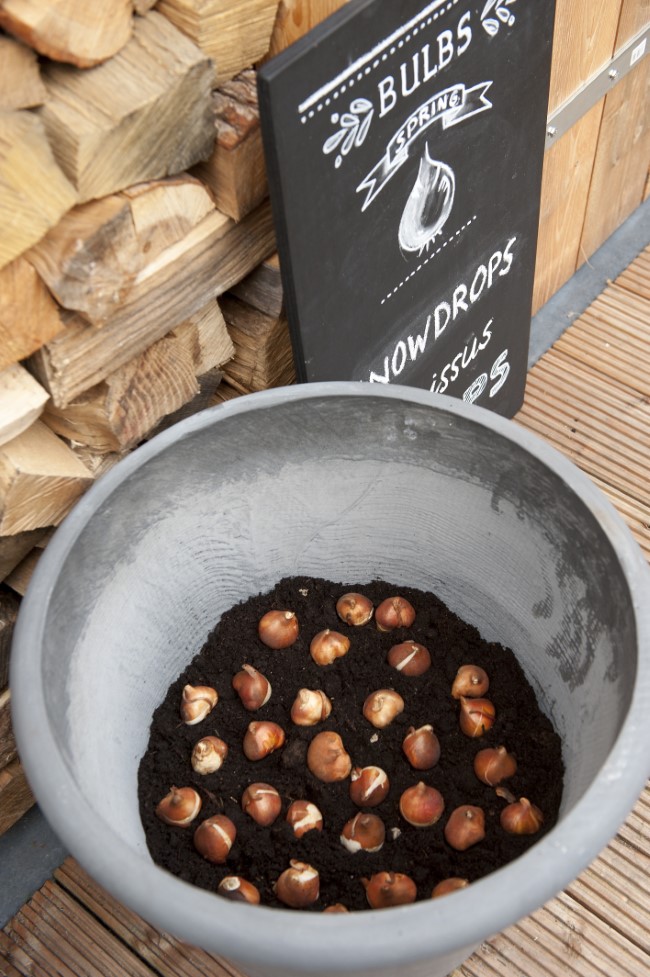
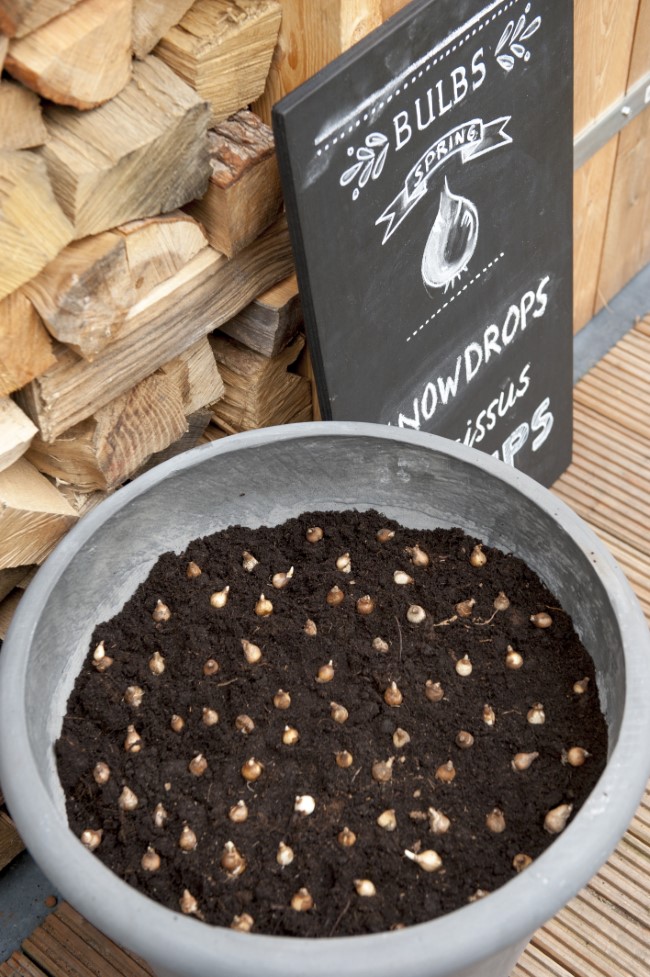
Plant the bulbs that require the greatest depth first, and evenly space them, root side down, into a layer of soil like the tulips shown.
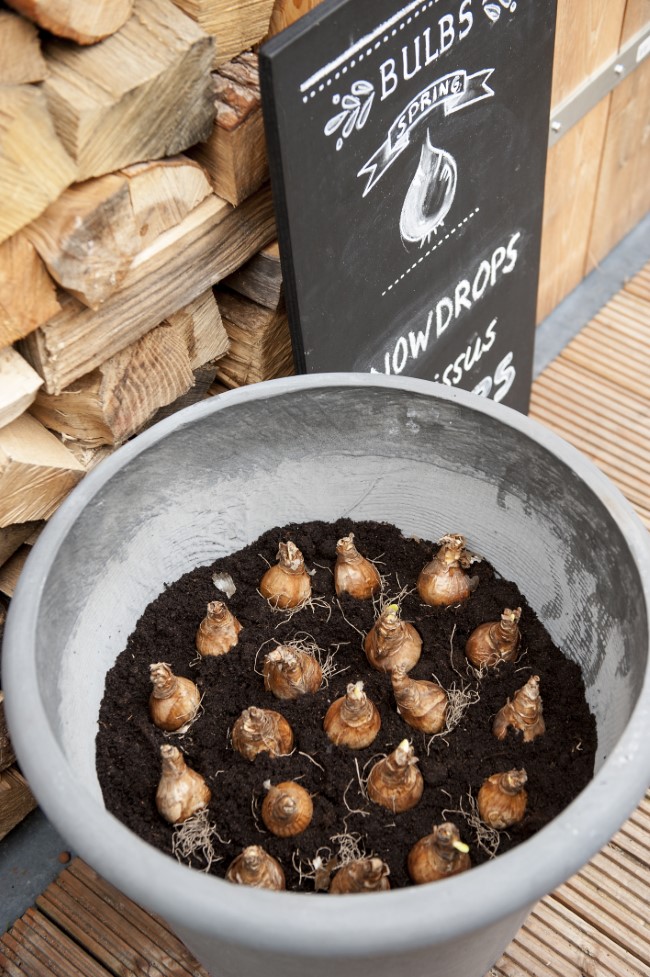
Cover the bulbs with soil and add another layer of bulbs planted root side down like these daffodils.
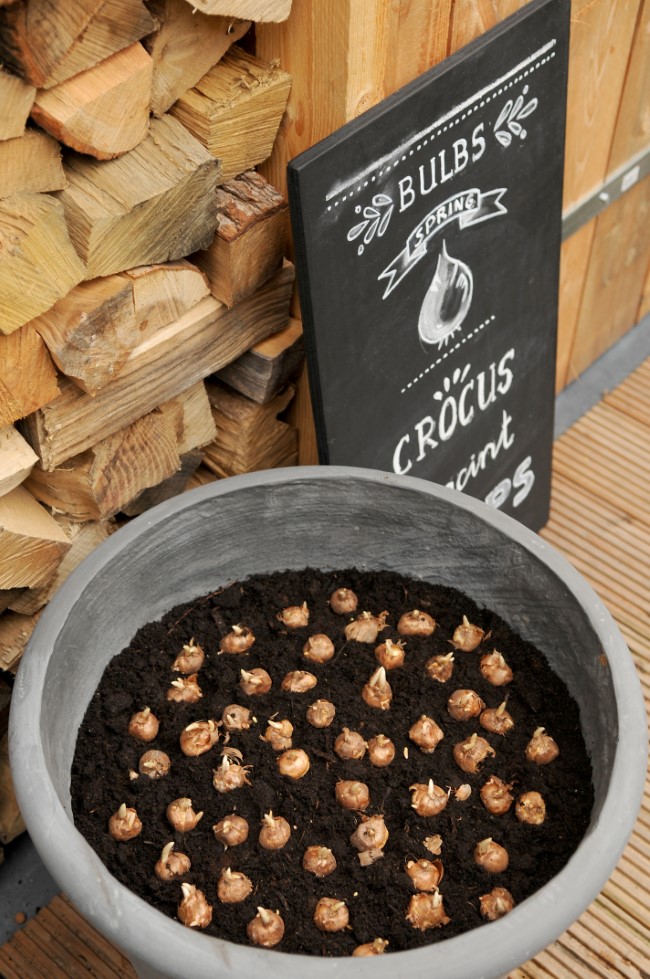
Plant another layer like the first two with soil in between like these crocuses.
Keep planting bulbs until the smallest, shallowest depth bulbs are planted.
Before the bulbs grow from the bottom of the soil, the ones on top will grow from the top in the spring.

Plant Gladiolus Bulbs in Containers the Right Way ✨
FAQ
How cold is too cold for bulbs in pots?
People with a protected cold space—an attached garage, for example—may be able to grow bulbs in a container successfully. As noted above, the temperature must remain below 45 degrees F but above freezing through winter.
When should you plant bulbs in containers?
Just like flower bulbs that you plant in a garden, the planting time for containers is Fall. Though you might be tempted to fill your containers with soil from your garden, it’s better to use a mixture of sandy soil and potting soil, to closely resemble the Dutch soil that is the secret to the success of our bulbs.
What to do with bulbs in pots after flowering in winter?
After flowering, move the container to a less prominent position until the following spring, or replant the bulbs into your borders – see our advice pages on ….